| A nice selection of brightly colored civilian vehicles. |
| A rear view as they drive off. |
| A nice side view. |
| Head on view. |
| A nice selection of brightly colored civilian vehicles. |
| A rear view as they drive off. |
| A nice side view. |
| Head on view. |
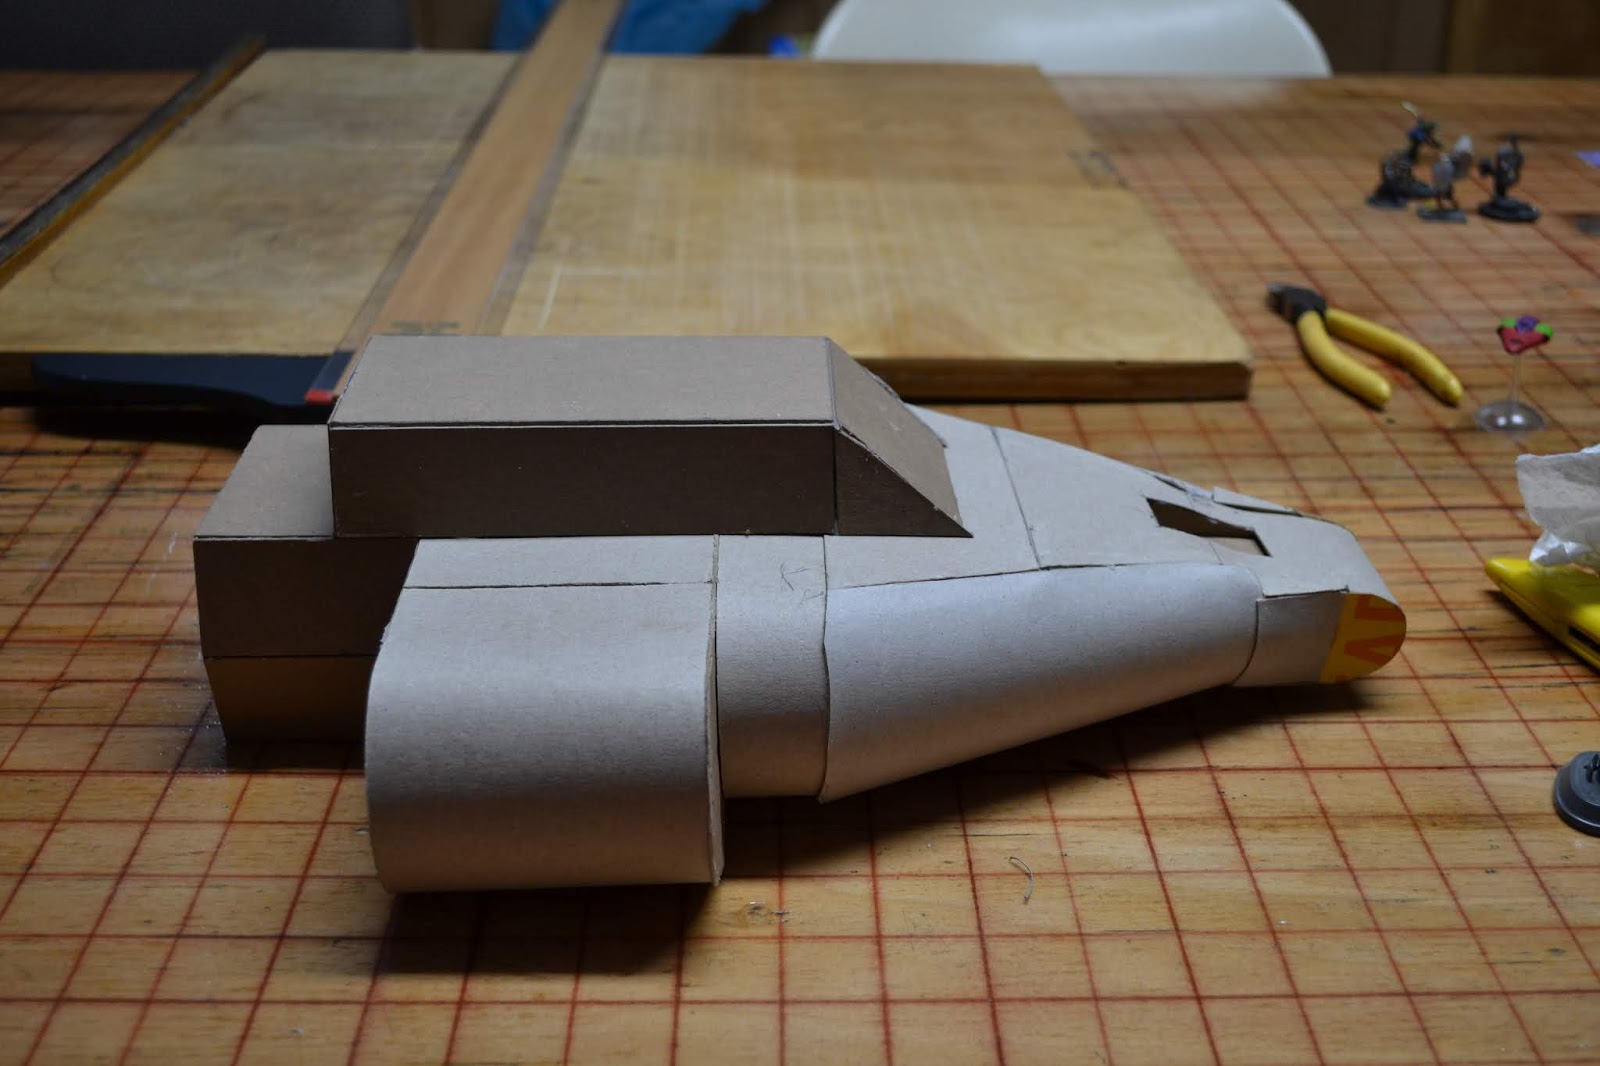
| Here I have clamped the starboard side of the ship with a piece of flat wood to keep the side straight while the glue dries. |
| The port side already in place. |
| A view from the top. |
| This is before I finished the nose. I couldn't quite get the dome shape from the many drawing of this iconic ship. |
| A view from the other side. I still have some finishing work to do before it will look the way I want it to. |
| A view from port aft. (nautical terms) |
| Port aft. |
| A nice profile shot. Landing gear soon. |
| Bow on view. I'm glad I have the cockpit window actually in the ship and not just painted on. |
| The rear landing gear made from the end cap of one of the medications I take. |
| The front landing gear. |
| A view of the belly with gear attached. I had reinforced the area where the front gear would be placed so the cereal box cardboard wouldn't collapse over time. |
| A bow on view of the rough finished ship. |
| Starboard view, ah the majesty. |
| A view of the aft with the thrusters in place. |
| Now a port view. |
| A crowd of onlookers has shown up. |
| Some figures for scale. |
| More figures for scale. I think that Vargr is attempting an act of piracy. |
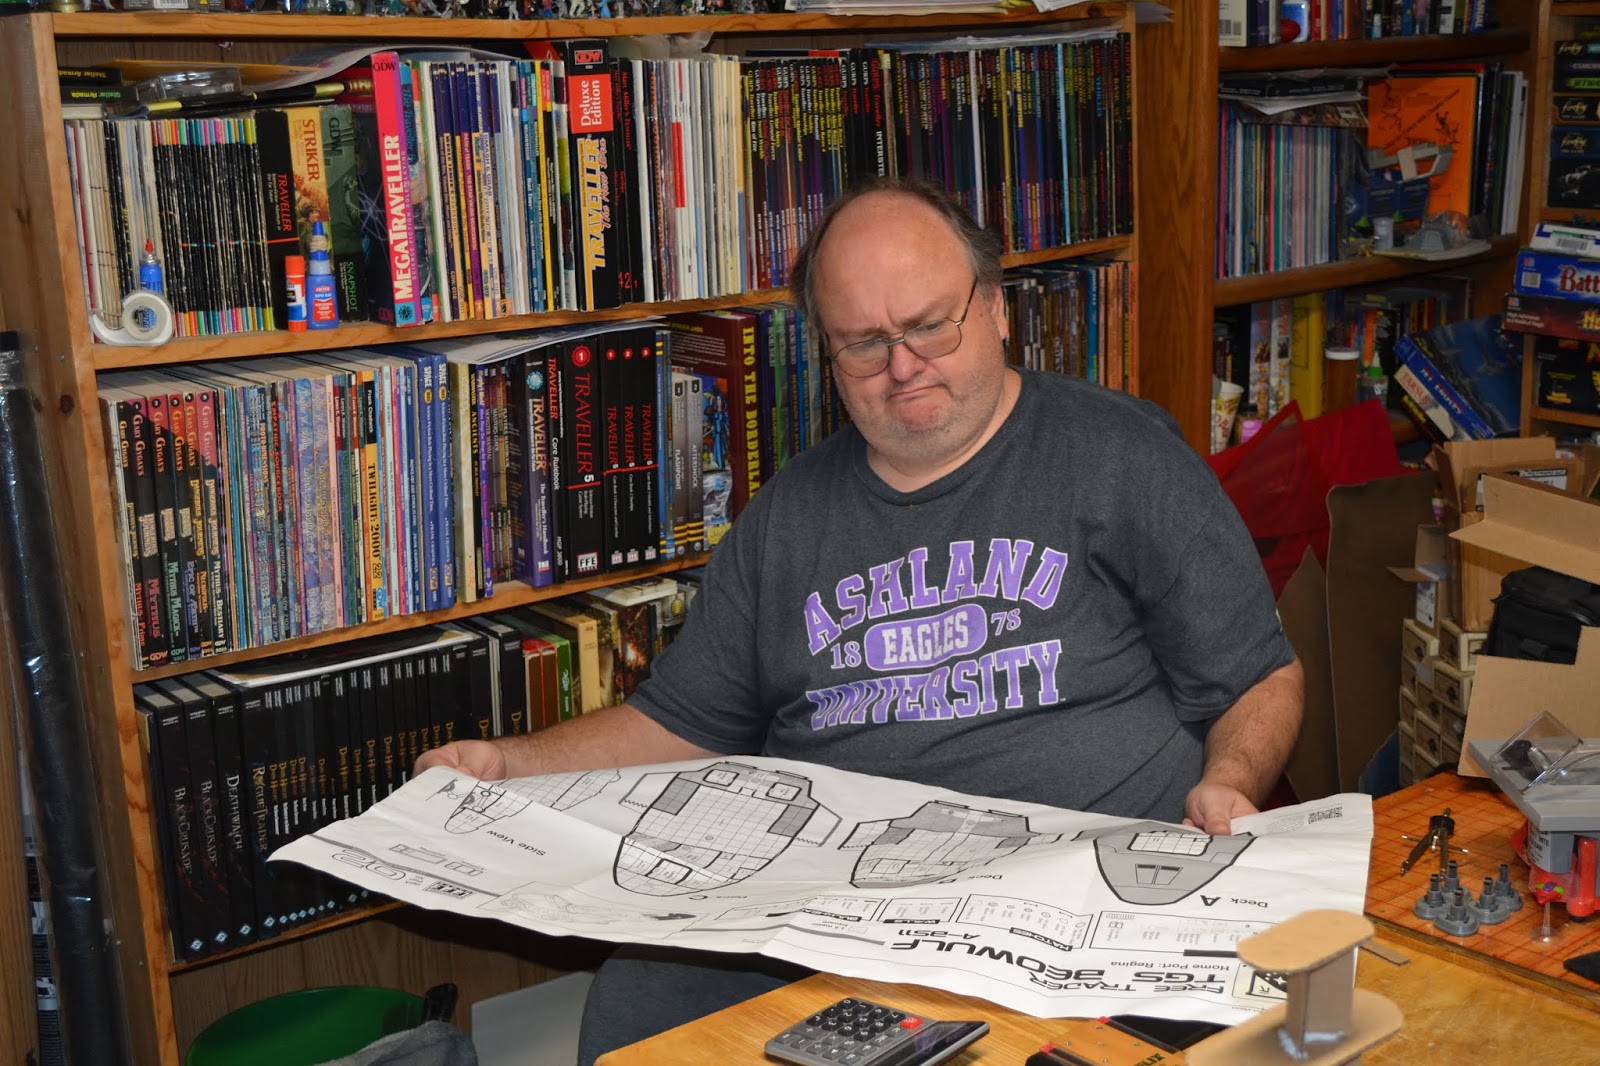
| Here I am trying to decipher the ship illustration against the deck plans. |
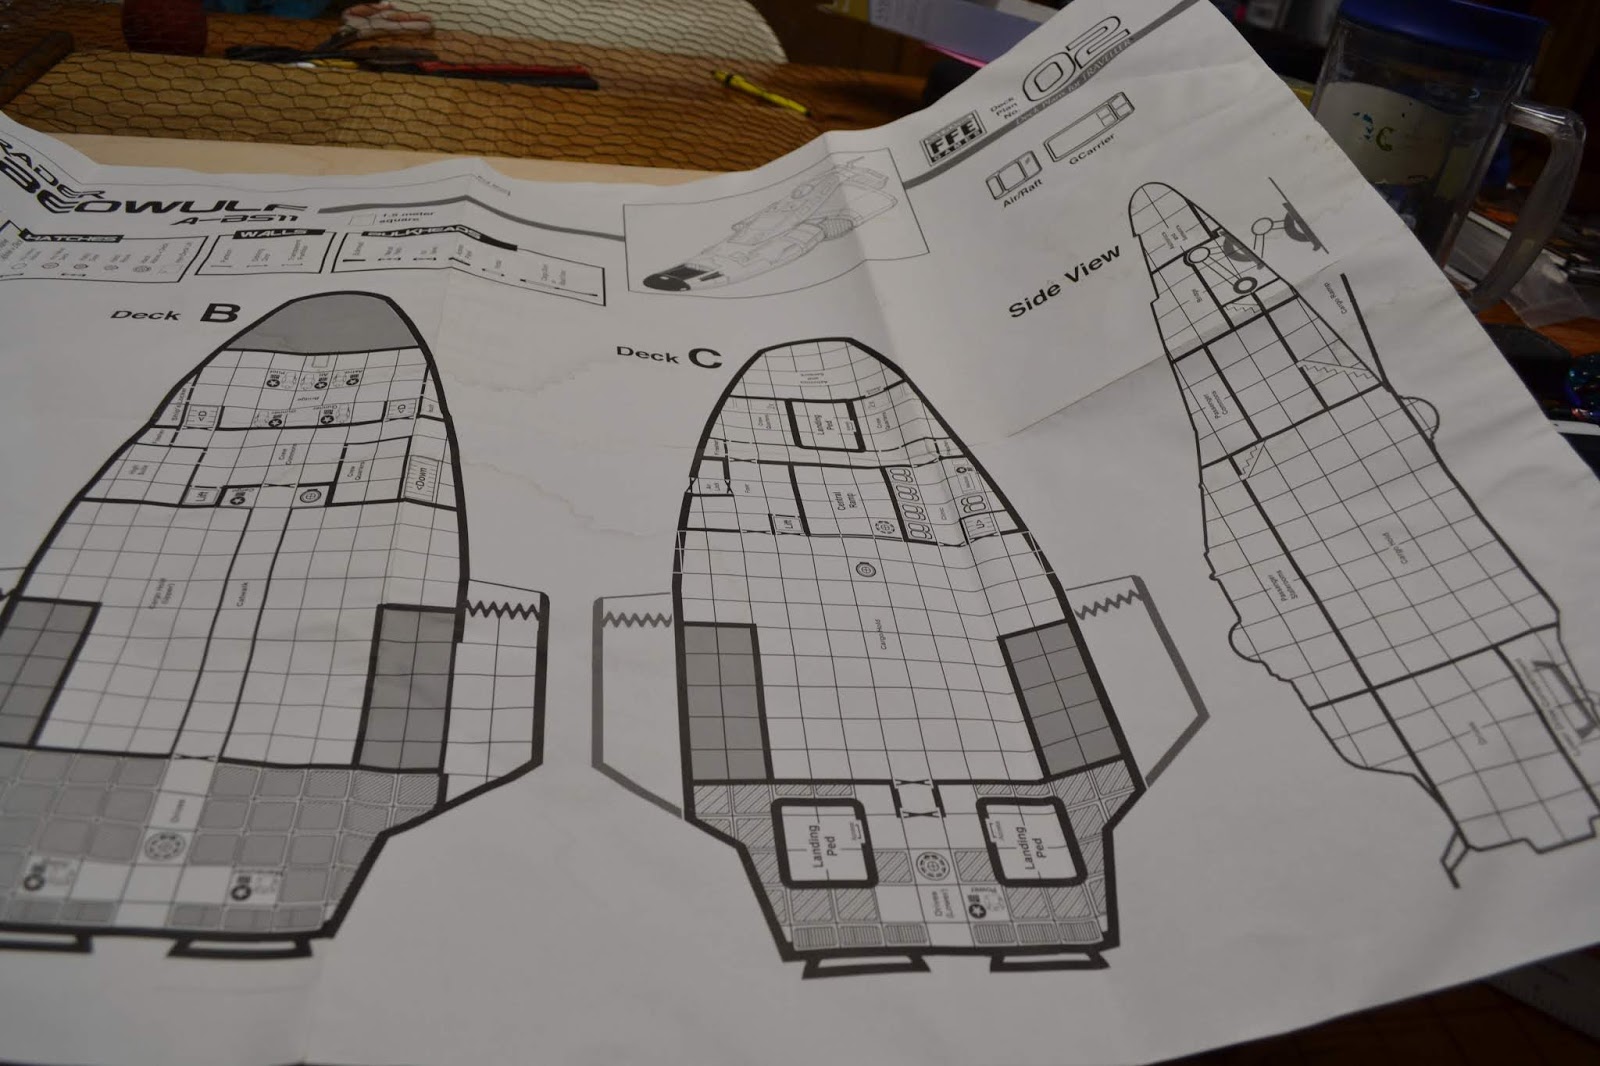
| FFE deck plans, my guide not blueprint. |
| A view of the plans that helped me get some of the dimensions so I could begin. |
| Plywood, what little starships are made of, well sort of. |
| Yes that is a real table saw with a 4" blade. Scary little thing. It excels at cutting plywood. |
| I cut a piece of plywood that is about 4 1/2 x 5 1/2 inches to be the keel. This is the platform that the ship will be built around. |
| Ah ha done! No just kidding. This is a Free Trader from RAFM. I am using it also for inspiration in the design. |
| As you can see the ship is starting to take shape. I am still trying to figure out how to make the nose for the ship. |
| A side view showing the engineering section and some L bracket cardboard to support the forward part of the model since from the front of the cargo to the nose the ship tapers up. |
| I placed the model on top of the deck plans to show I am trying to keep it within scale. |
| Yes I used a calculator to figure out some of the more technical questions about dimensions and such like what if half of that measurement. |
| Just a view of the ships aft. |
| I want to have the window viewport in the hull. I may have to trip it down to fit in with the shape of the hull. |
| The cardboard is called chip board I got from one of those home craft stores. It is used as backing for pictures in frames. Much thinner than box cardboard and easier to work with. |
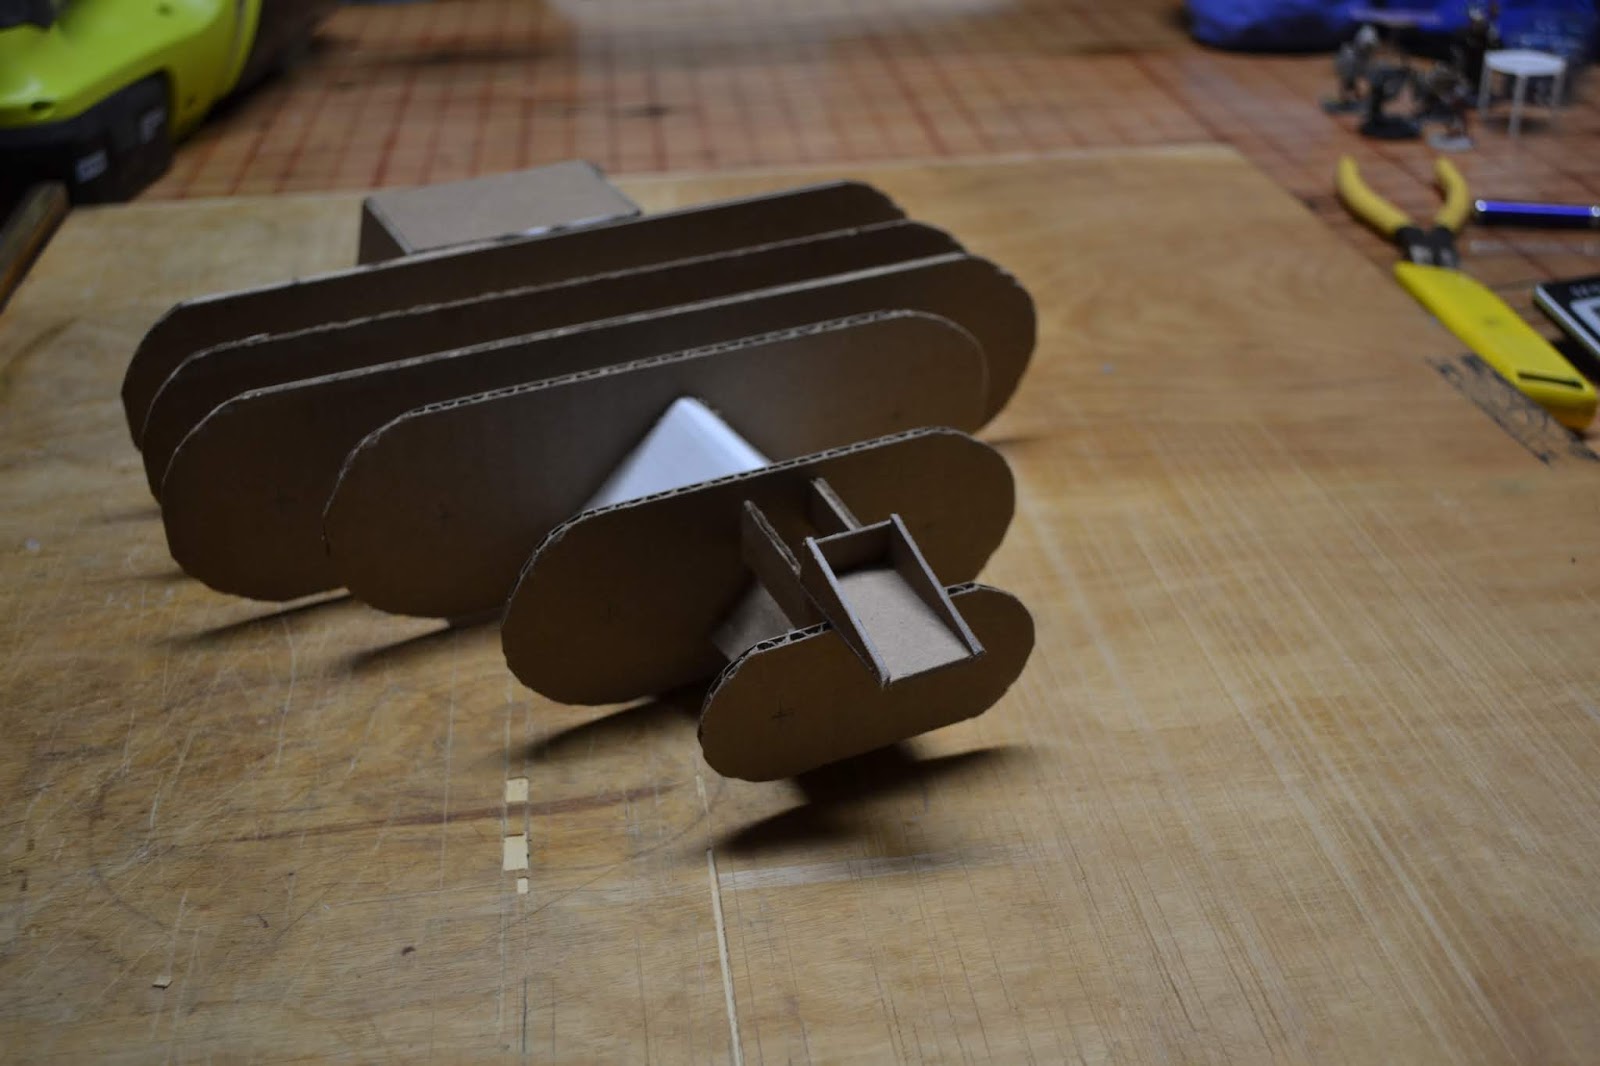
| Here I added the tail fins and some support for the nose for the next step. |
| The white paper is index card stock I glued in place and the nose is from the cap of a stick deodorant I cut to fit. |
| I cut a piece of chip board to cover the opening in the rear of the ship. |
| To make it look like there are some control surfaces on the wings I cut some more index card and used a glue stick. |
| A view of the aft. |
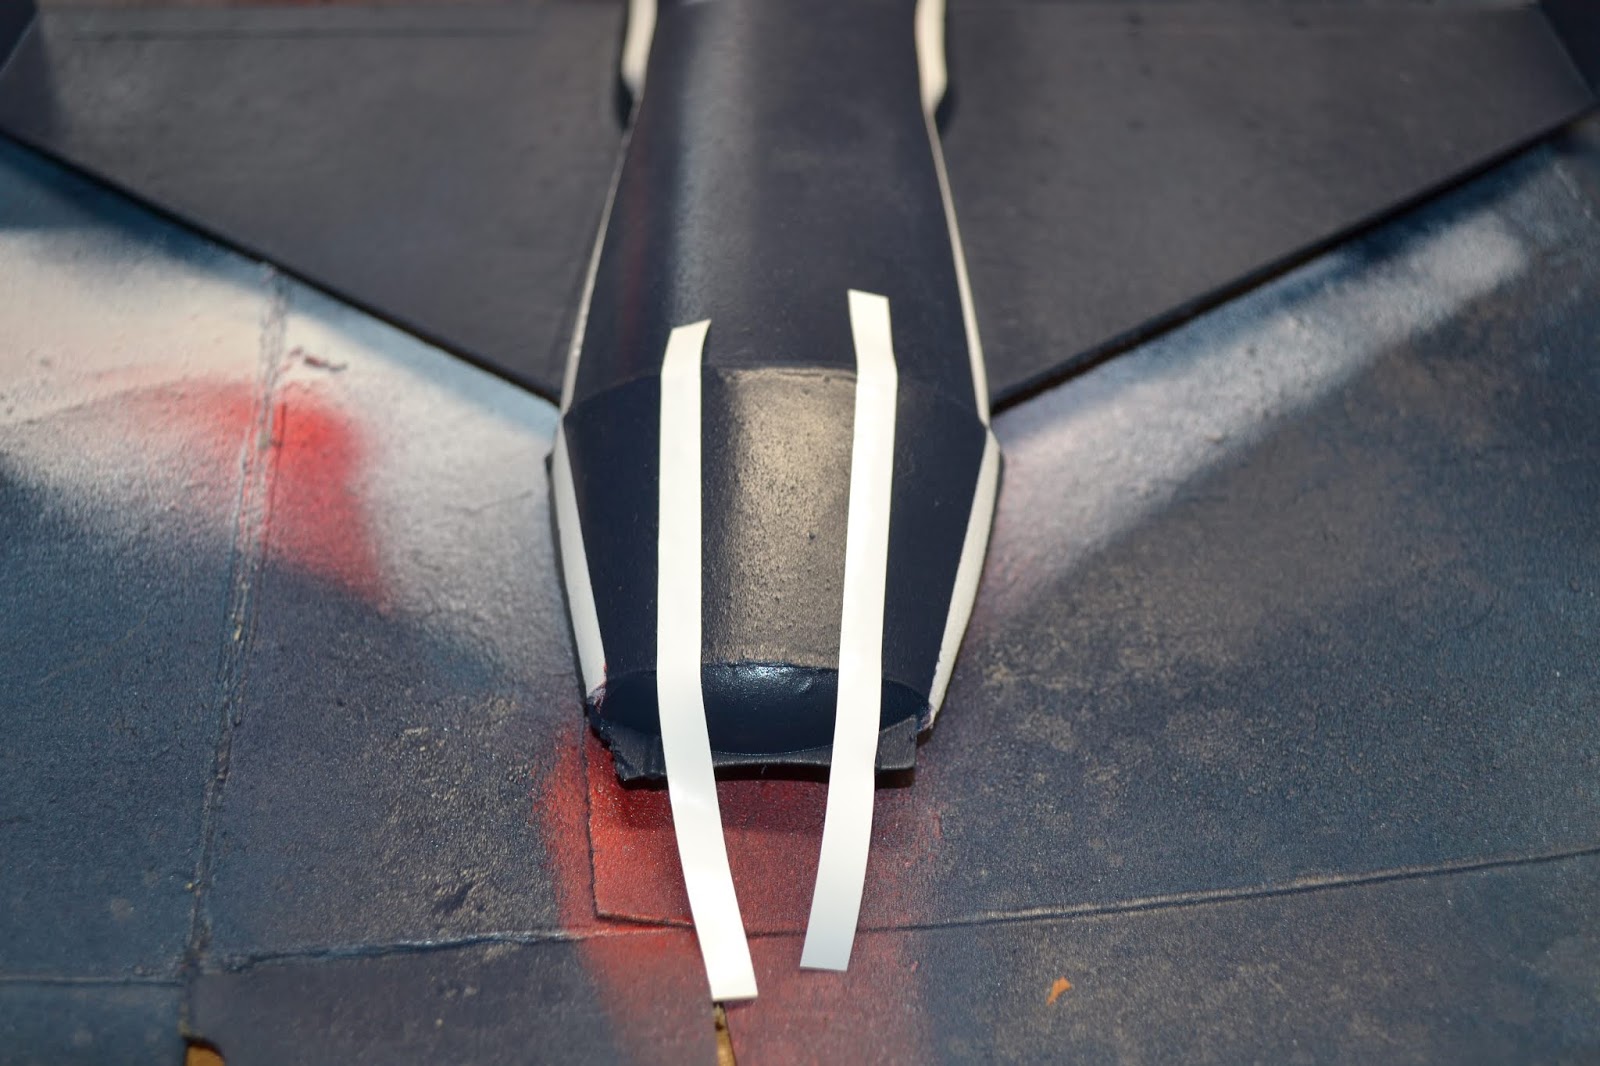
| A use for pin striping tape. Just to make it look like there is a windshield. |
| A view of the mostly finished shuttle. The white stripe down the side was made using more of the pin striping tape. |
| And another view. |
| For the engine cowling I used one of the caps from a medication I take. It did require a little alteration. |
| A picture for scale. Some old 15mm Martian Metal figures and a Khurasan Super Heavy grav tank. |