Tuesday, May 26, 2020

Free Trader ready for adventure!

Paint on the Free Trader at last!

Finally the weather warmed up, stopped raining and the winds died down and I was able to get some paint on my mostly cardboard Free Trader.
An angle showing off the smart lines of my little ship.

Head on from above.

Now the other side.

A nice starboard profile view.

Starboard aft view.

Aft view.

A few 15mm crew and the RAFM Free Traders shown for scale.

The three ships I built to date and an old Martian Metals air raft.  The grid on the table is 1 inch squares just to give you a sense of actual size.
I used pis striping tape for the black line between the white and red.  In several places the tape failed and I had to do some touch ups by brush.  I have another ship about 90% built and will be showing it off soon.

Wednesday, April 15, 2020

Finally got around to this. The other has to wait.

Over the ls couple of years I managed to acquire 2 Martian Metals air rafts for Traveller.  One was still in the box without any paint ever applied to it.  The only piece not in the box was the windscreen plastic.  Luckily the instructions were with it and had a windscreen template.

This one needs to go into an acetone bath to remove an excess of epoxy and then get a new paint job and windscreen.

This is the air raft that was assembled and unpainted..  I came with 2 passengers one male and one female.

A different view before painting.

Now a view of it leaving.

The other side.

A view of the bottom showing the 3 legs the air raft stands on.  When standing on these legs the model will right itself if tipped to any of its sides.


My paint job before the windscreen is applied.


The air raft with the cardboard package.  The package was inside a box I guess to help protect the contents.


A closeup of the front.

Right side.

Rear view.

Left side.

Both air rafts together.  I do have some seats that will fit in the back of the right one so it will look more complete.


I plan on using both of these in some upcoming Traveller games.

Thursday, April 2, 2020

One man, one grav truck, will move anything.

I picked these up from Old Crow a few years ago and finally got around to painting them.  I plan on using them as either added scenery to the games I run or vehicles the players may interact with.
A nice selection of brightly colored civilian vehicles.
I don't remember what their original title was but I thought they would serve as spacebilly pick up trucks, cargo haulers at a spaceport, or maybe even an open top delivery vehicle.

A rear view as they drive off.

A nice side view.

Head on view.

Close up detail of the front end and driver.  Once painted and assembled I noticed that there were 2 different drivers, one pose looking forward and the other looking to the drivers right.  That was a nice touch.
I like the look of these grav trucks and will be using them in my games.

Thursday, February 13, 2020

Free Trader build done. (Still need some final touches)

Free Trader almost done.
After several cereal boxes, a small shipping box, some chip board and copious amounts of Elmers non run white glue, the build portion of the Free Trader is done.  The other 2 Traveller ships I built were pretty straightforward.  The Scout was all straight lines and the Shuttle was a few items glued together with very little having to create things from scratch.  This ship was almost all measuring fitting gluing and clamping.  

Here I have clamped the starboard side of the ship with a piece of flat wood to keep the side straight while the glue dries.

The port side already in place.

A view from the top.

This is before I finished the nose.  I couldn't quite get the dome shape from the many drawing of this iconic ship.

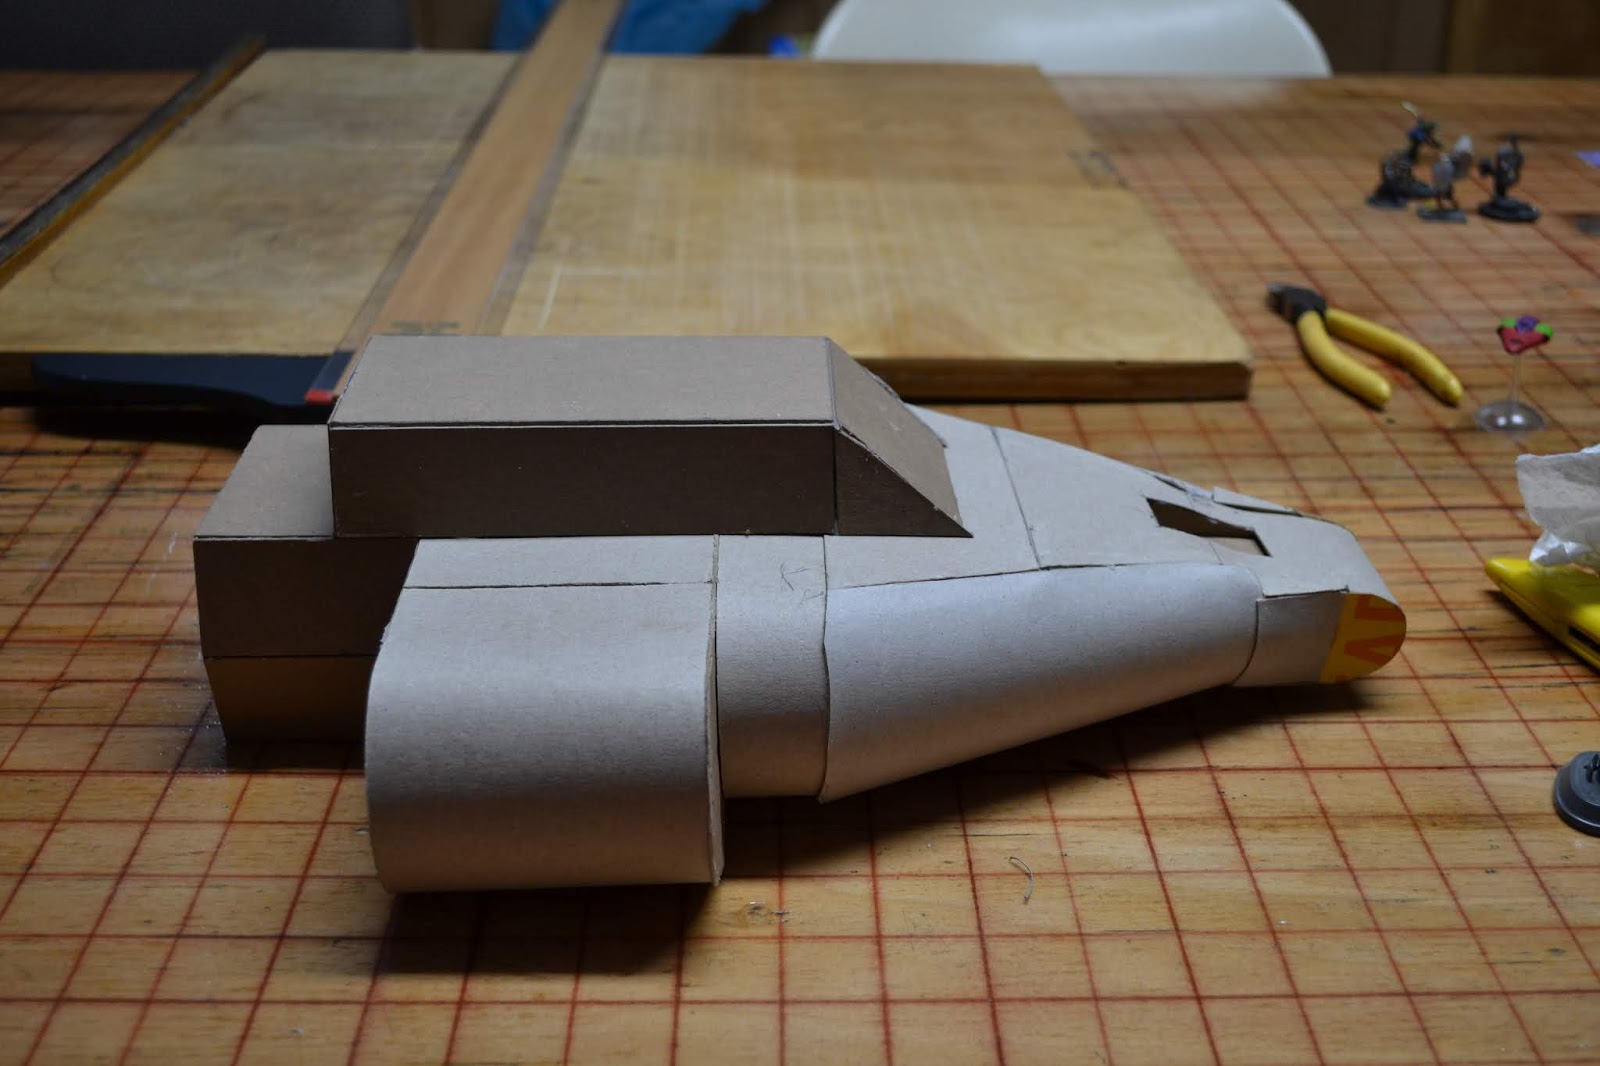
The nose finished and the passenger section attached to the top.  The passenger section is about 1/4 inch taller than it appears in the side view from the dckplans and the nose is about 3/4 inches longer too.

A view from the other side.  I still have some finishing work to do before it will look the way I want it to.

A view from port aft.  (nautical terms)

Port aft.

A nice profile shot.  Landing gear soon.

Bow on view.  I'm glad I have the cockpit window actually in the ship and not just painted on.

The rear landing gear made from the end cap of one of the medications I take.

The front landing gear.

A view of the belly with gear attached.  I had reinforced the area where the front gear would be placed so the cereal box cardboard wouldn't collapse over time.

A bow on view of the rough finished ship.

Starboard view, ah the majesty.

A view of the aft with the thrusters in place.

Now a port view.


A crowd of onlookers has shown up.

Some figures for scale.

More figures for scale.  I think that Vargr is attempting an act of piracy.
Well this is the build so far.  Painting will have to wait for warmer weather.  I still need to smooth out some of the joints between the cardboard pieces.  I will be using a couple of glass beads for turrets since they seem to be about the right size.  I do have plans in my head for a couple more merchant ships and maybe one or two small military ships.  But for the time being I will be concentrating on getting the merchants done first.  I do have a game planed that will use all my ships built to date and it will be at Travellercon.  Til next time.

Monday, February 3, 2020

Back at the shipyard.

I know it's been a while since my last post so here is where I am and what I am doing in regards to Traveller stuff.
After my last build of an Imperial shuttle I decided to build another iconic Traveller starship,  the Beowulf.  So I put my best man, actually only man, on the job.  
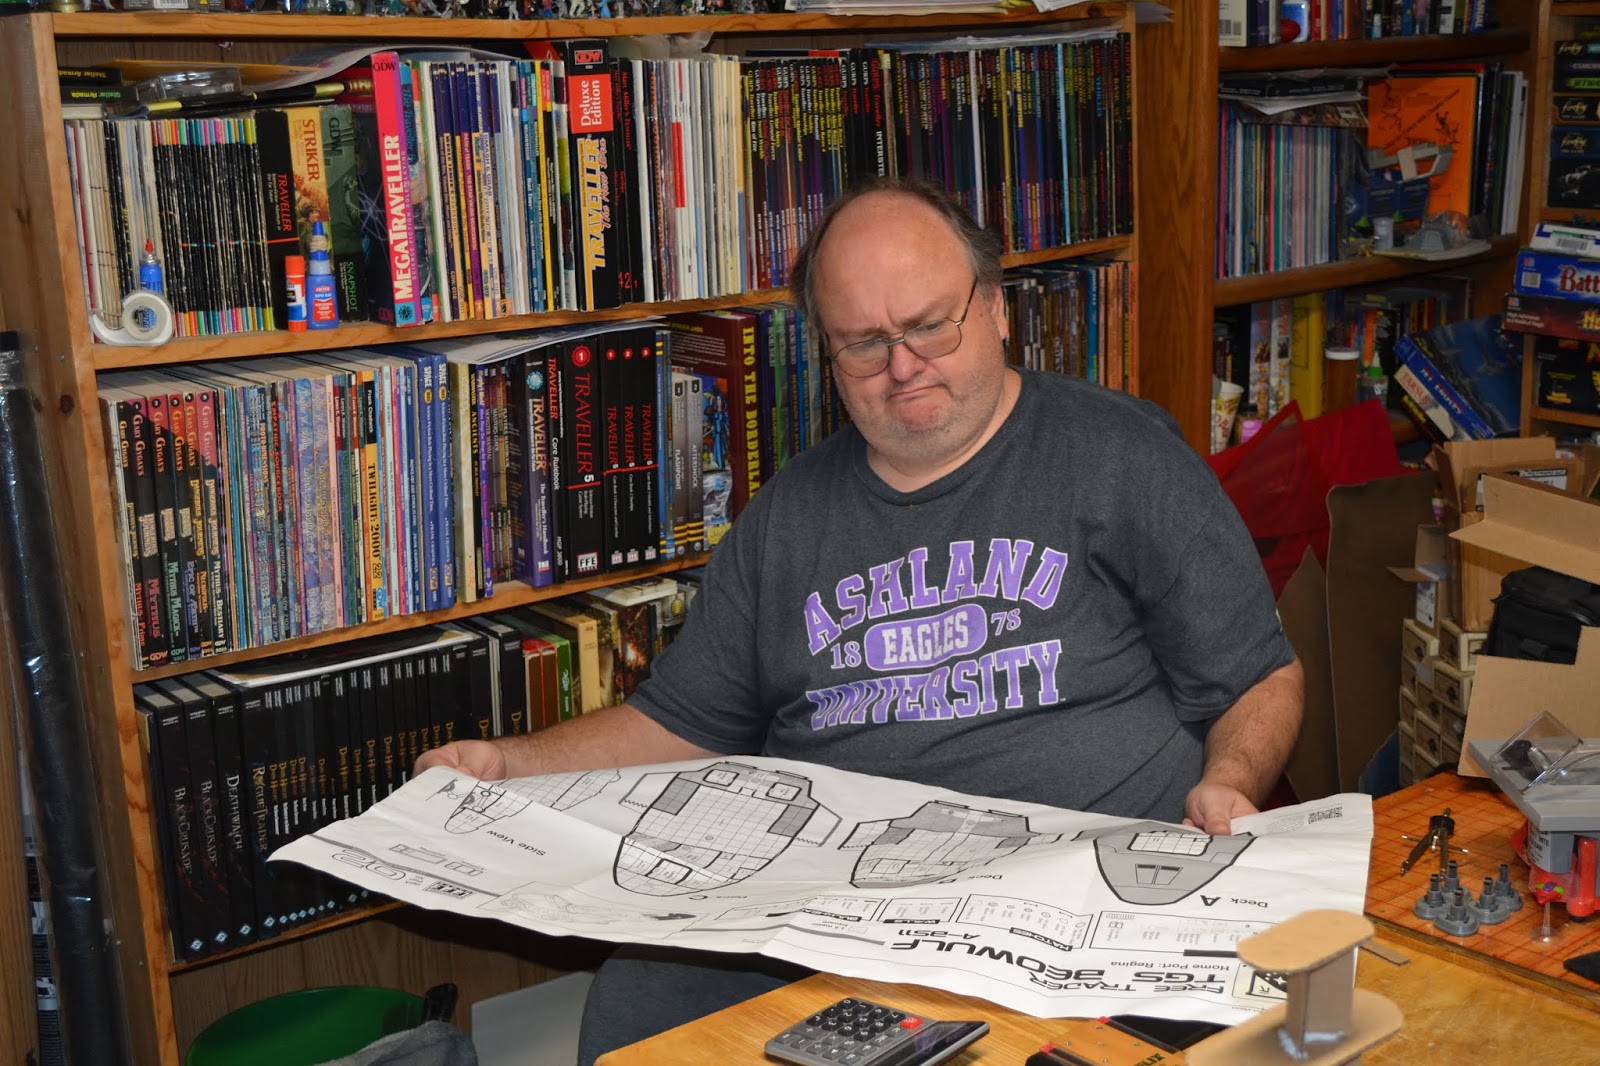
Here I am trying to decipher the ship illustration against the deck plans.
 After looking and looking at the plans and comparing them to the illustration I decided they did not match perfectly.  Oh well another artist interpretation.  

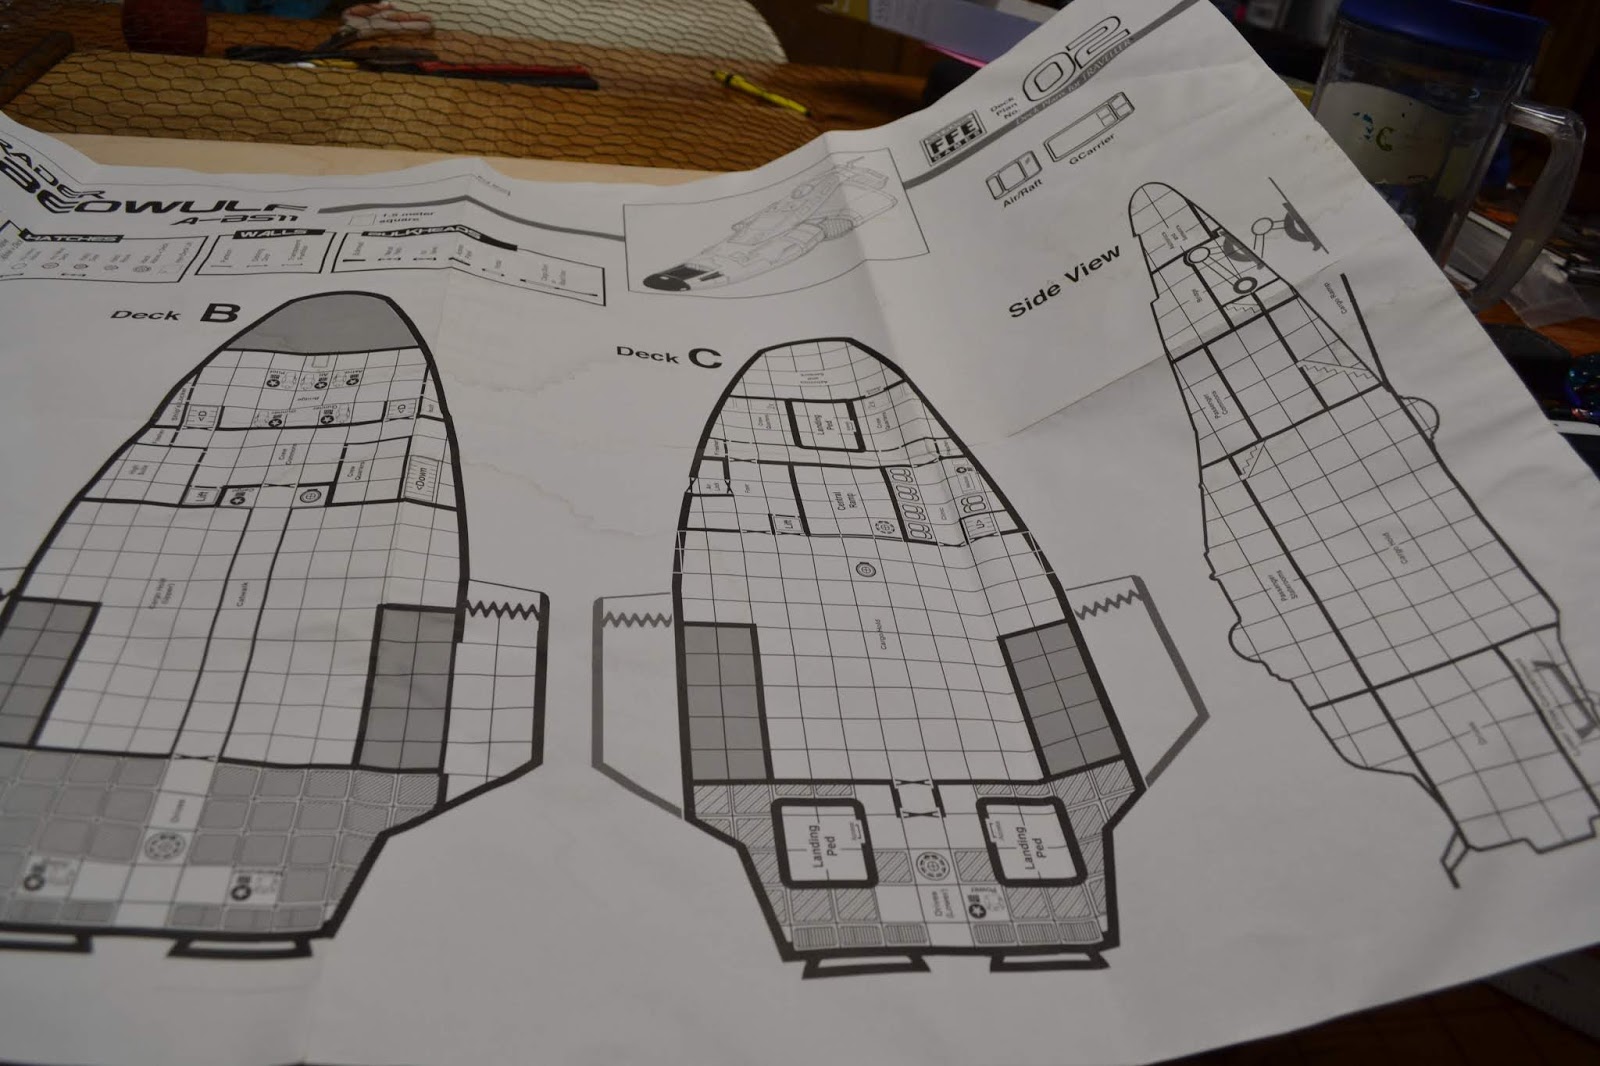
FFE deck plans, my guide not blueprint.

A view of the plans that helped me get some of the dimensions so I could begin. 
 The first thing I would need would be a strong durable and lightweight material for the keel or base of the model.  I went with 1/8" plywood.
Plywood, what little starships are made of, well sort of.

Yes that is a real table saw with a 4" blade.  Scary little thing.  It excels at cutting plywood.

I cut a piece of plywood that is about 4 1/2 x 5 1/2 inches to be the keel.  This is the platform that the ship will be built around.  

Ah ha done!  No just kidding. This is a Free Trader from RAFM.  I am using it also for inspiration in the design.

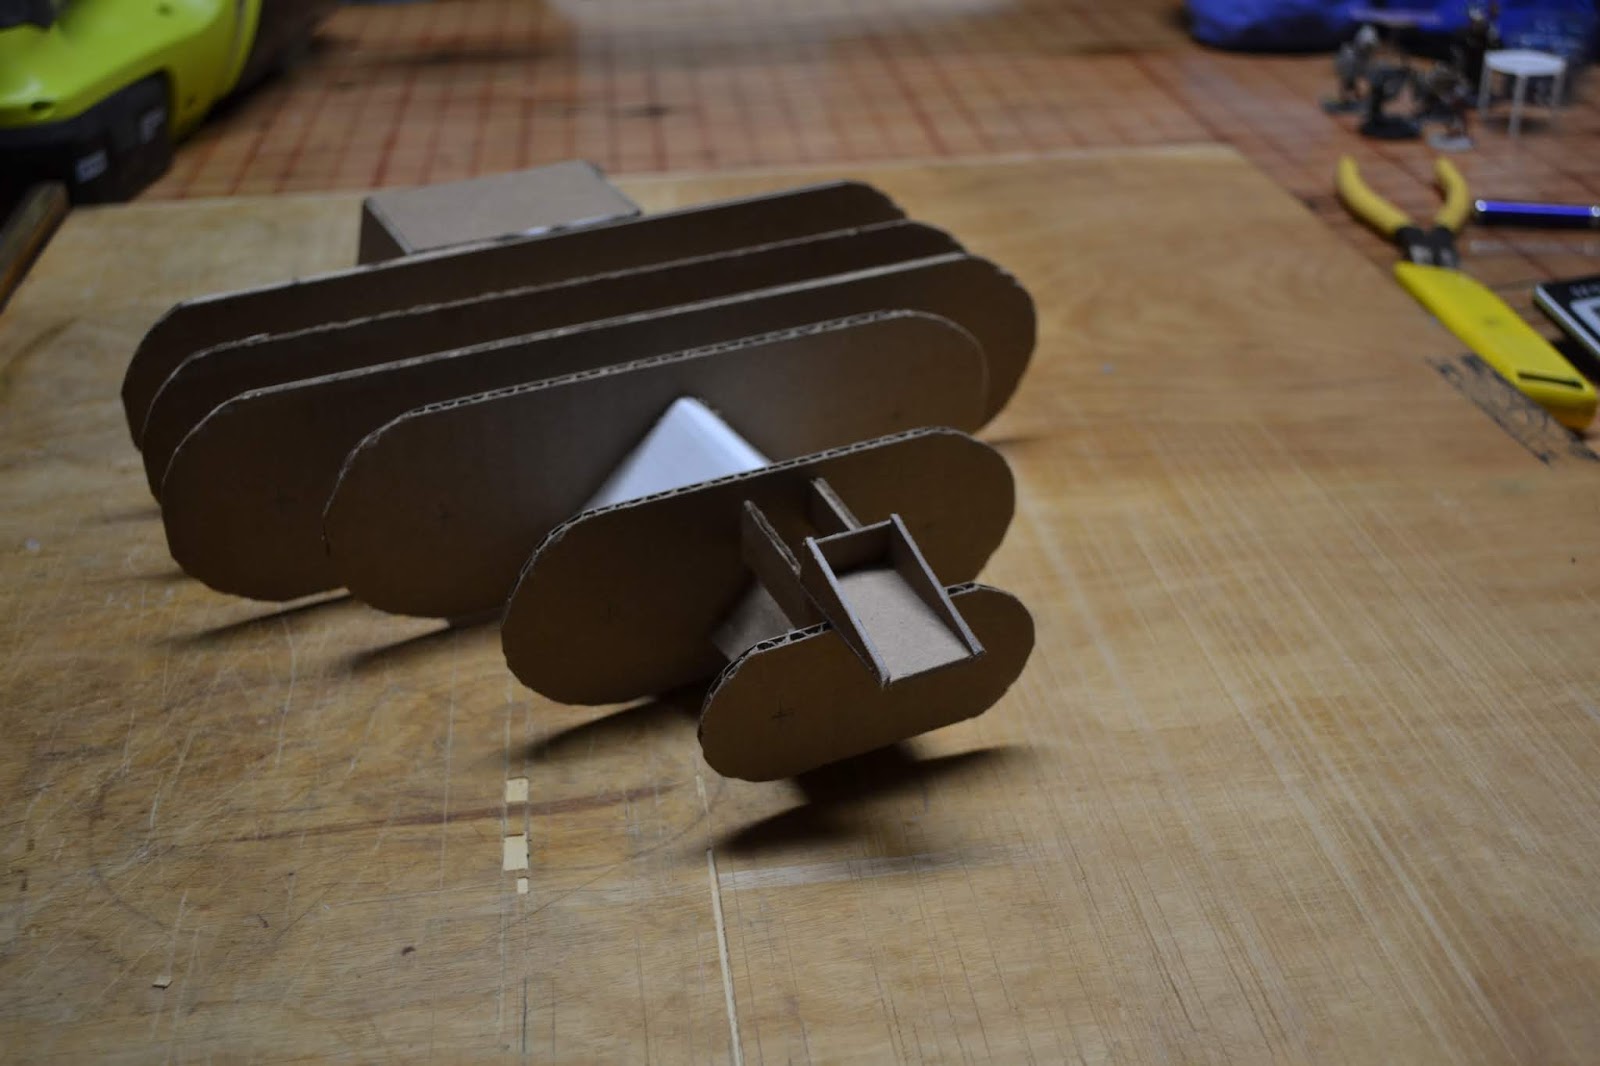
The first part of the ship interior support structure.  I made them a bit bigger than the plans to make it look more like the RAFM model.  I also figure it ads room for fuel storage which the deck plans seemed to lack.

As you can see the ship is starting to take shape.  I am still trying to figure out how to make the nose for the ship.  

A side view showing the engineering section and some L bracket cardboard to support the forward part of the model since from the front of the cargo to the nose the ship tapers up.  

I placed the model on top of the deck plans to show I am trying to keep it within scale.

Yes I used a calculator to figure out some of the more technical questions about dimensions and such like what if half of  that measurement.  

Just a view of the ships aft.

I want to have the window viewport in the hull.  I may have to trip it down to fit in with the shape of the hull.

Well this where I am at with this build.  My next step will be to get the exterior hull over the frame.  Once that is done I will add the top section where the passenger staterooms are.  I do have pieces for landing gear and the thrusters.  I will have to wait for spring before I paint it.  Once it is finished it will be quite light since most of it is cardboard.  I would love to add led running lights to it powered by small solar cells.  I hope to have more on this within a bout 2 weeks.