Saturday, November 28, 2020

Far Trader done!

Here are some pictures of the final build and paint of my Far Trader.
Here is the starboard side of the Far Trader with the main paint job done

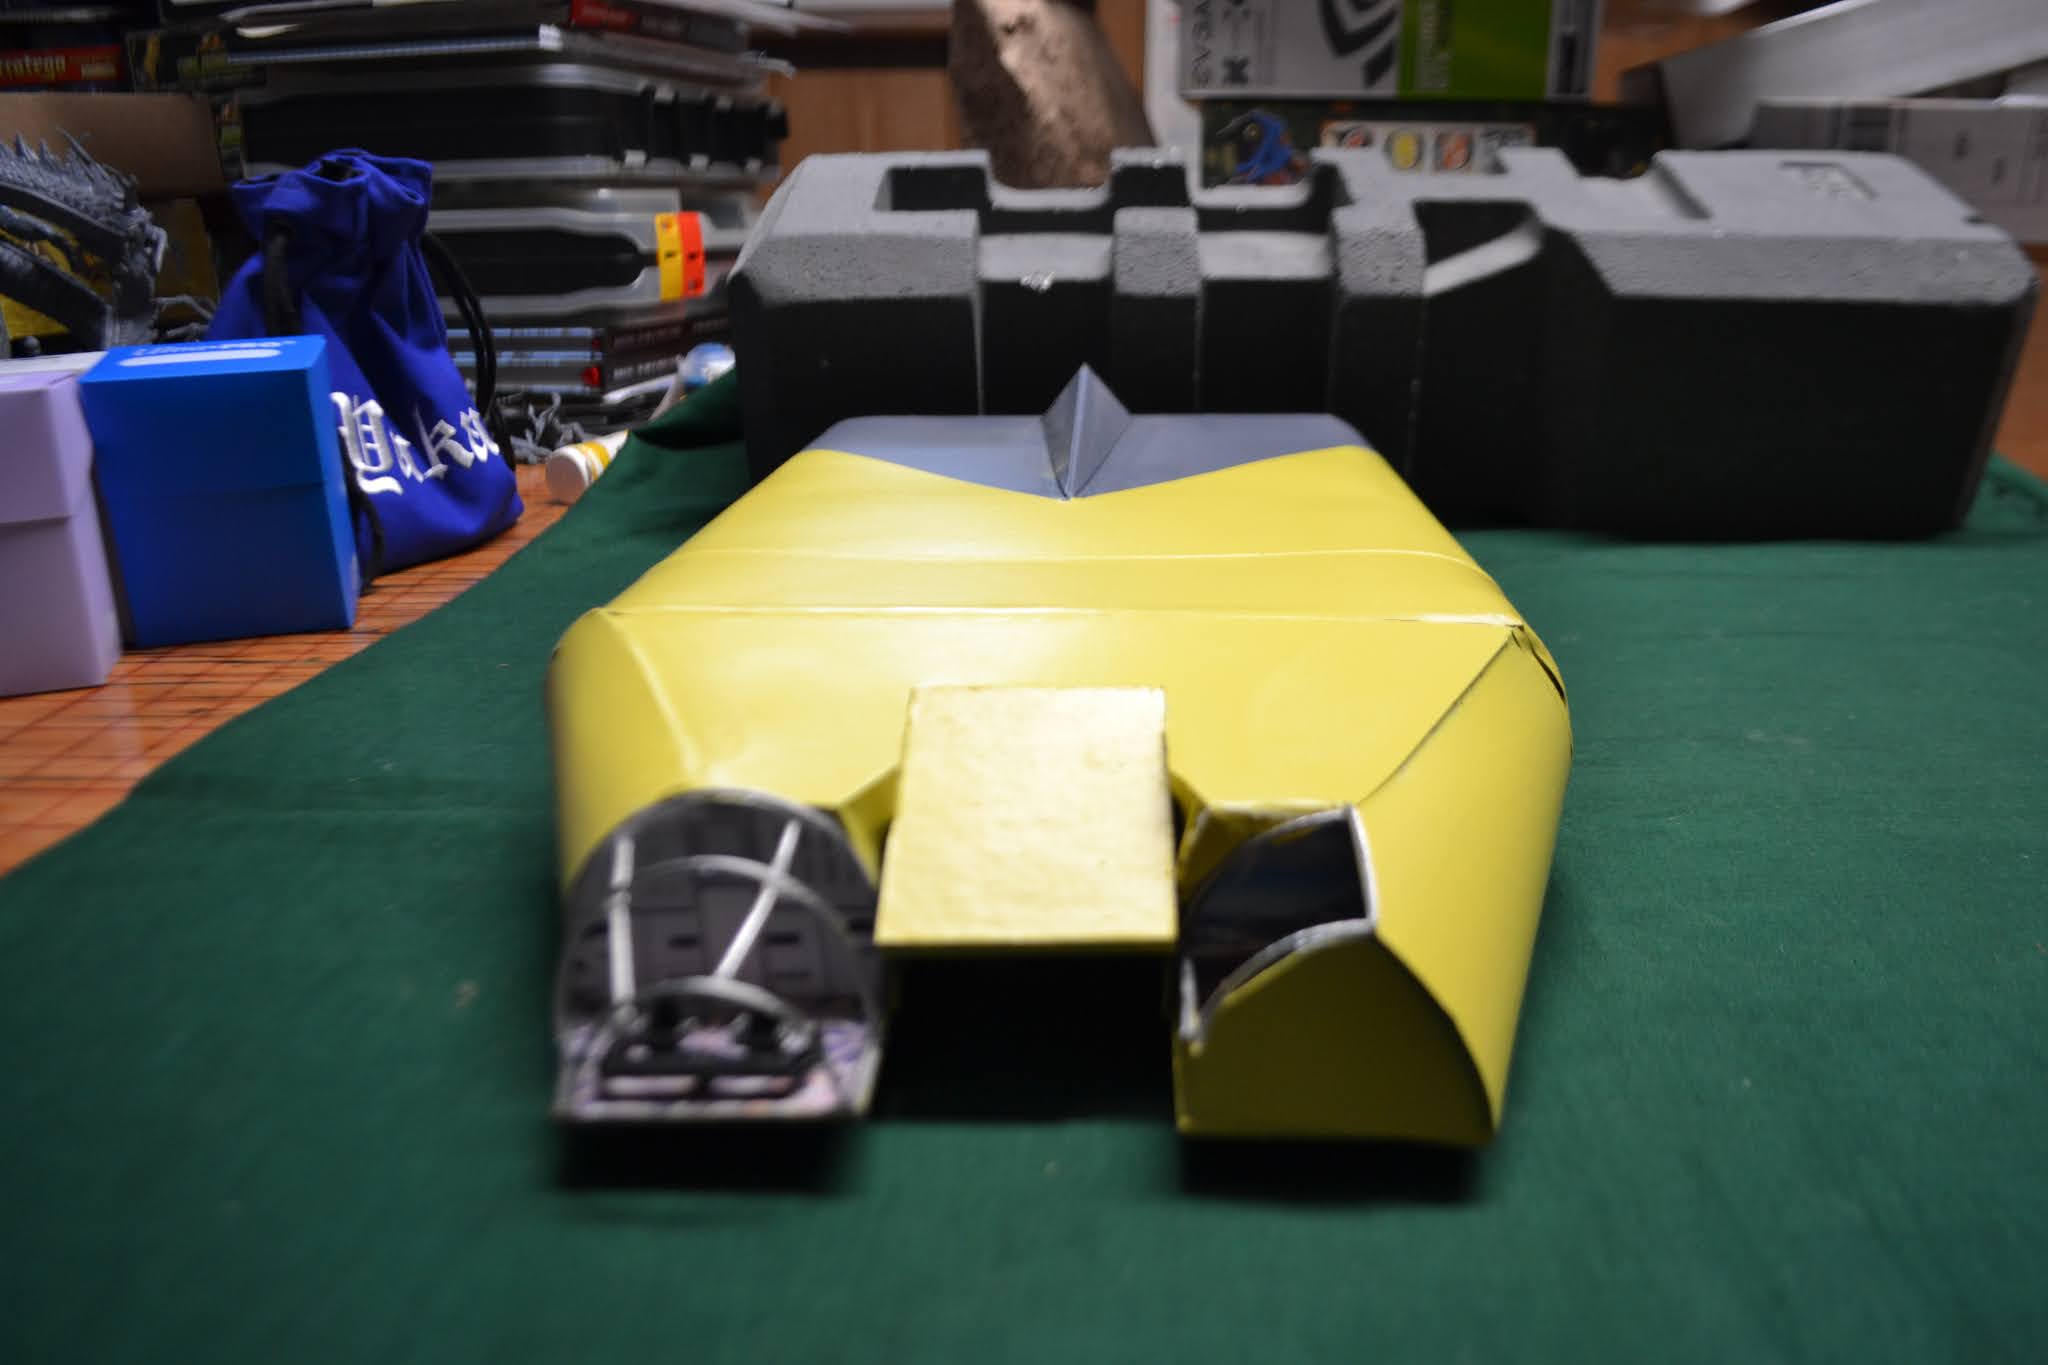
The aft view.  The thrusters are not yet painted.

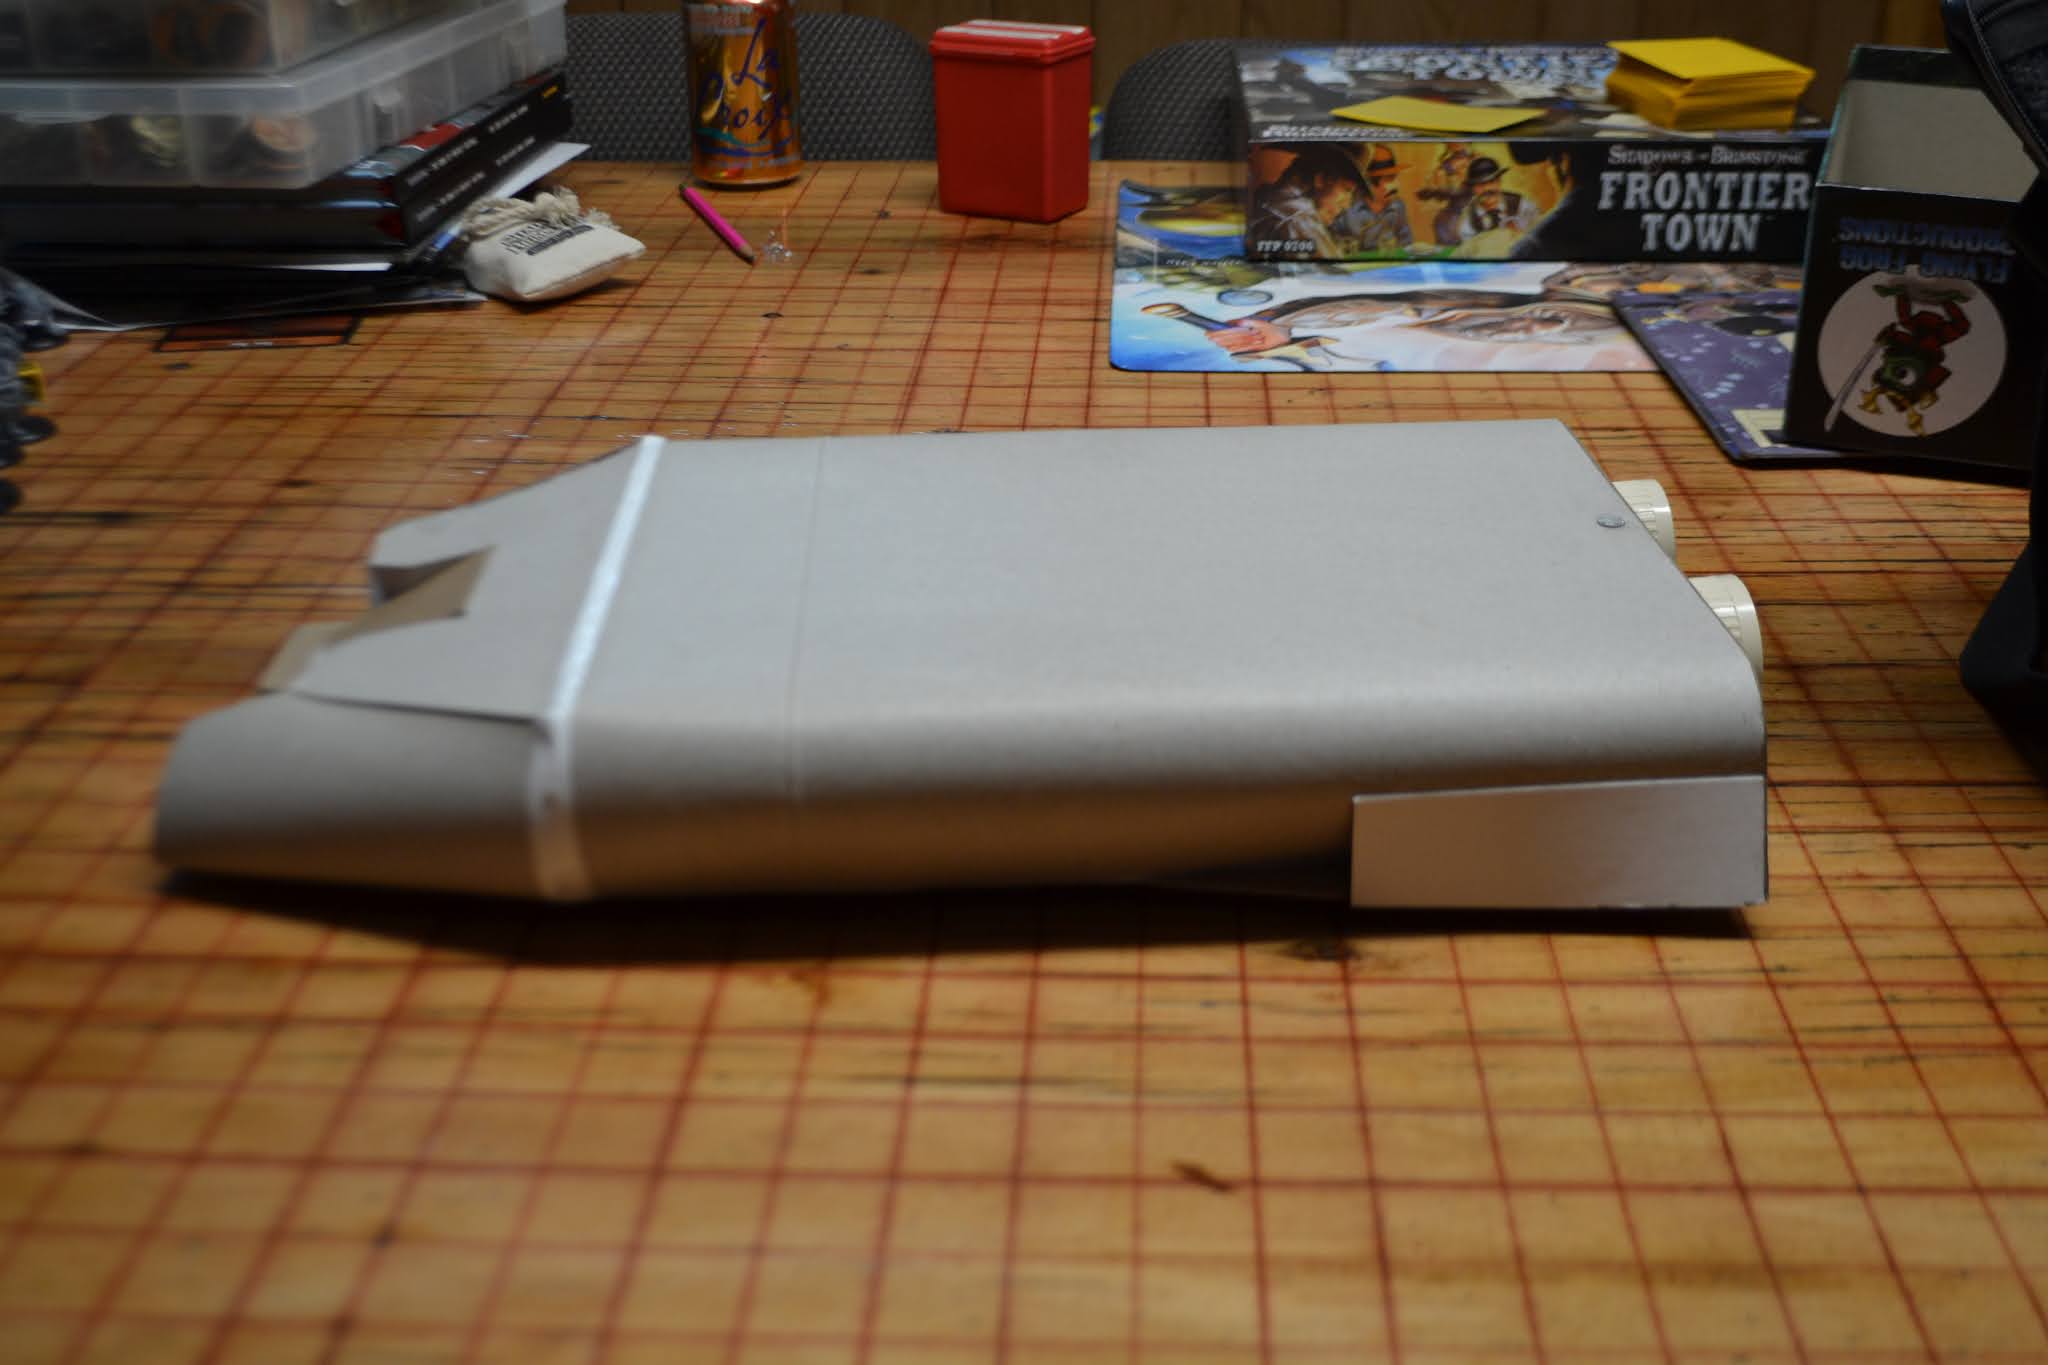
Here is the port side.

Now the bow end.  The windows are not yet finished.

An angle shot.

A close up of the cockpit with a tile floor and a computer wall with a sliding door in the center.

A view of the captains cabin with a tile floor and a scene of some alien world on the back wall.

I placed two 15mm figures on the cockpit floor to show scale.

And another figure in the captains cabin.

I added chairs and a console for some visual detail on the bridge.  Those pieces are from RAFM.

I added the window wire to both the captains cabin and the bridge.  I didn't cover with clear plastic because that always seems to yellow over time.

A view from the front.

A close up of the finished cockpit.

In the captains cabin I added a meeting table and two sets of benches.  The table was made from cardboard and painted brown.

Here is a view of the almost finished ship.

A view of the painted thrusters.

Another view of the thrusters.

And another view.

Now with some 15mm figures for scale.

Here my hand drawn deckplans next to the Far Trader.

Now an overhead view of two Far Traders.  The one on the left was made by RAFM during The New Era edition of Traveller.

Here is a picture of the cargo door and the starboard side iris valve.  The cargo door was printed on index card stock then glued onto the side of the ship.  The iris valve took a few more steps.  First I copied the iris valve drawing from Traders and Gunboats, then I printed it onto a used label sheet.  I then pressed a clear adhesive tape strip onto the printed iris valve.  Waited a bit, peeled it off the label paper.  The image transferred onto the tape then I simply put the tape onto the ship.

Now the other side.  I had tried to remove the tape and leave the valve image but most of the ink stayed on the tape so I left the tape in place.  This way the tape keeps the valve image protected.

I have a couple of turrets I may yet use but they really don't match the aesthetic of the ship so I will keep looking for a better match.

My next build will be the Subsidized Merchant.  The difficult part of that build will be the launch.


Wednesday, August 12, 2020

Far Trader ready for paint but not quite done yet.

I have been working on building a Far Trader based on the floor plans from Traders and Gunboats.  This will be used in some future wargames.  There will not be an interior to speak of.  I am planning on a bridge and captains cabin windows made of picture hanging wire.
First steps.  I already had a floor plan drawn out so I just traced the shape onto some chip board then cut it out for the bottom of the ship.

Since the ship is two decks tall I used one inch per level so the ship will be about two inches thick.  I used a cardboard box to make the internal supports.  I used the dice boxes to keep it vertical while the glue sets.

More of the supports and some spacers to help keep the ship rigid.

The full internal structure.

A view from the other side.

Here is the outer hull wrapped around the supports.  I used a cereal box.

Another view.  There is a small gap which will be addressed.

Here the right side fuel scoop has been added and also the front hull top and the front cargo/air raft door.

Front view of the cargo door and front hull top.

To cover the stern of the ship and make it look smooth I stood the ship on end on a piece of cereal box and traced the shape onto the cardboard.  Then cut it out and glued it in place.

The right side of the forward hull in place.

This shows the left forward hull in place and some pin striping tape to cover the joint between two pieces of cardboard.

The thrusters are a couple of medicine bottles and the little hatch is from my extra parts box.

The landing gear are made from another medicine container cut flat.

A view of the right side.

Now the left siode.

Many of the artists renderings of this ship have some sort of top fin.  So here is my version.

There is a little gap between the fin and the hull top which will be filled with glue to help hide it when it gets painted.

An aft view.

For the bridge I have a control console and two chairs.  There will be a printed color background covering the cardboard before the window goes on.

For the captains cabin I have two sets of benches and a table.  This room also gets a printed background.

This is the wire that will make up the windows.  Nice and stiff with a plastic coating.
Now all that remains is to paint the ship then the interior parts and last the windows.
 

Tuesday, May 26, 2020

Free Trader ready for adventure!

Paint on the Free Trader at last!

Finally the weather warmed up, stopped raining and the winds died down and I was able to get some paint on my mostly cardboard Free Trader.
An angle showing off the smart lines of my little ship.

Head on from above.

Now the other side.

A nice starboard profile view.

Starboard aft view.

Aft view.

A few 15mm crew and the RAFM Free Traders shown for scale.

The three ships I built to date and an old Martian Metals air raft.  The grid on the table is 1 inch squares just to give you a sense of actual size.
I used pis striping tape for the black line between the white and red.  In several places the tape failed and I had to do some touch ups by brush.  I have another ship about 90% built and will be showing it off soon.