I know it's been a while since my last post so here is where I am and what I am doing in regards to Traveller stuff.
After my last build of an Imperial shuttle I decided to build another iconic Traveller starship, the Beowulf. So I put my best man, actually only man, on the job.
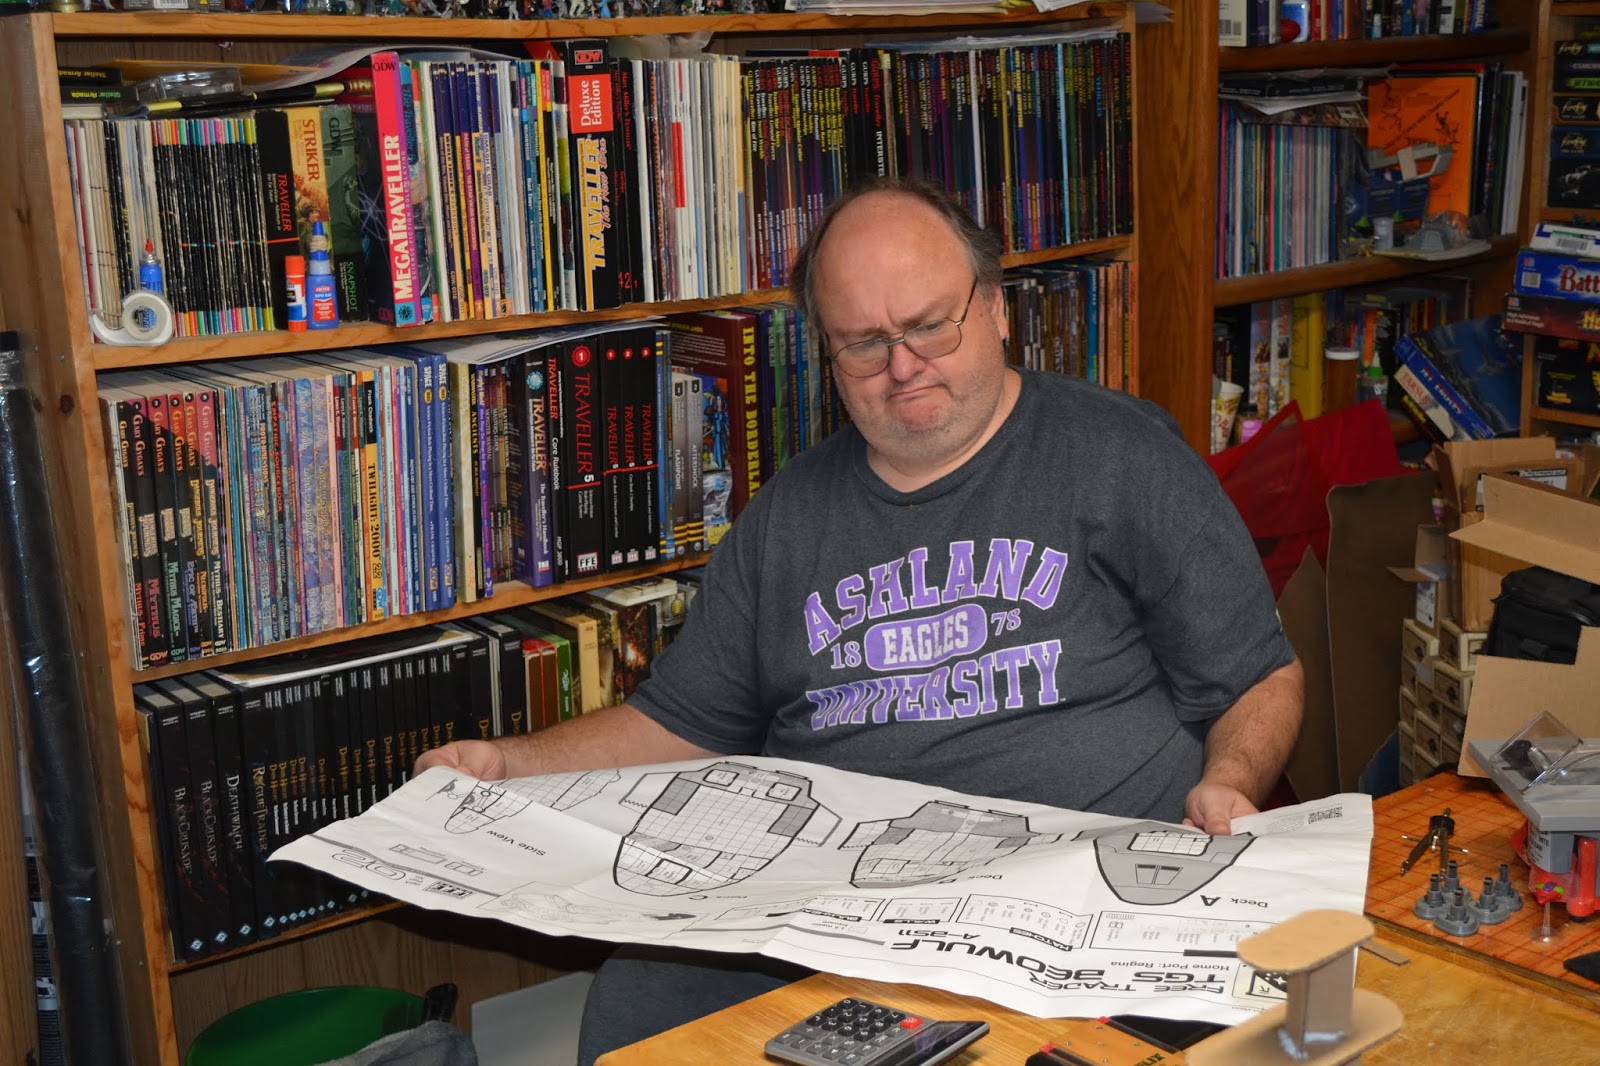 |
| Here I am trying to decipher the ship illustration against the deck plans. |
After looking and looking at the plans and comparing them to the illustration I decided they did not match perfectly. Oh well another artist interpretation.
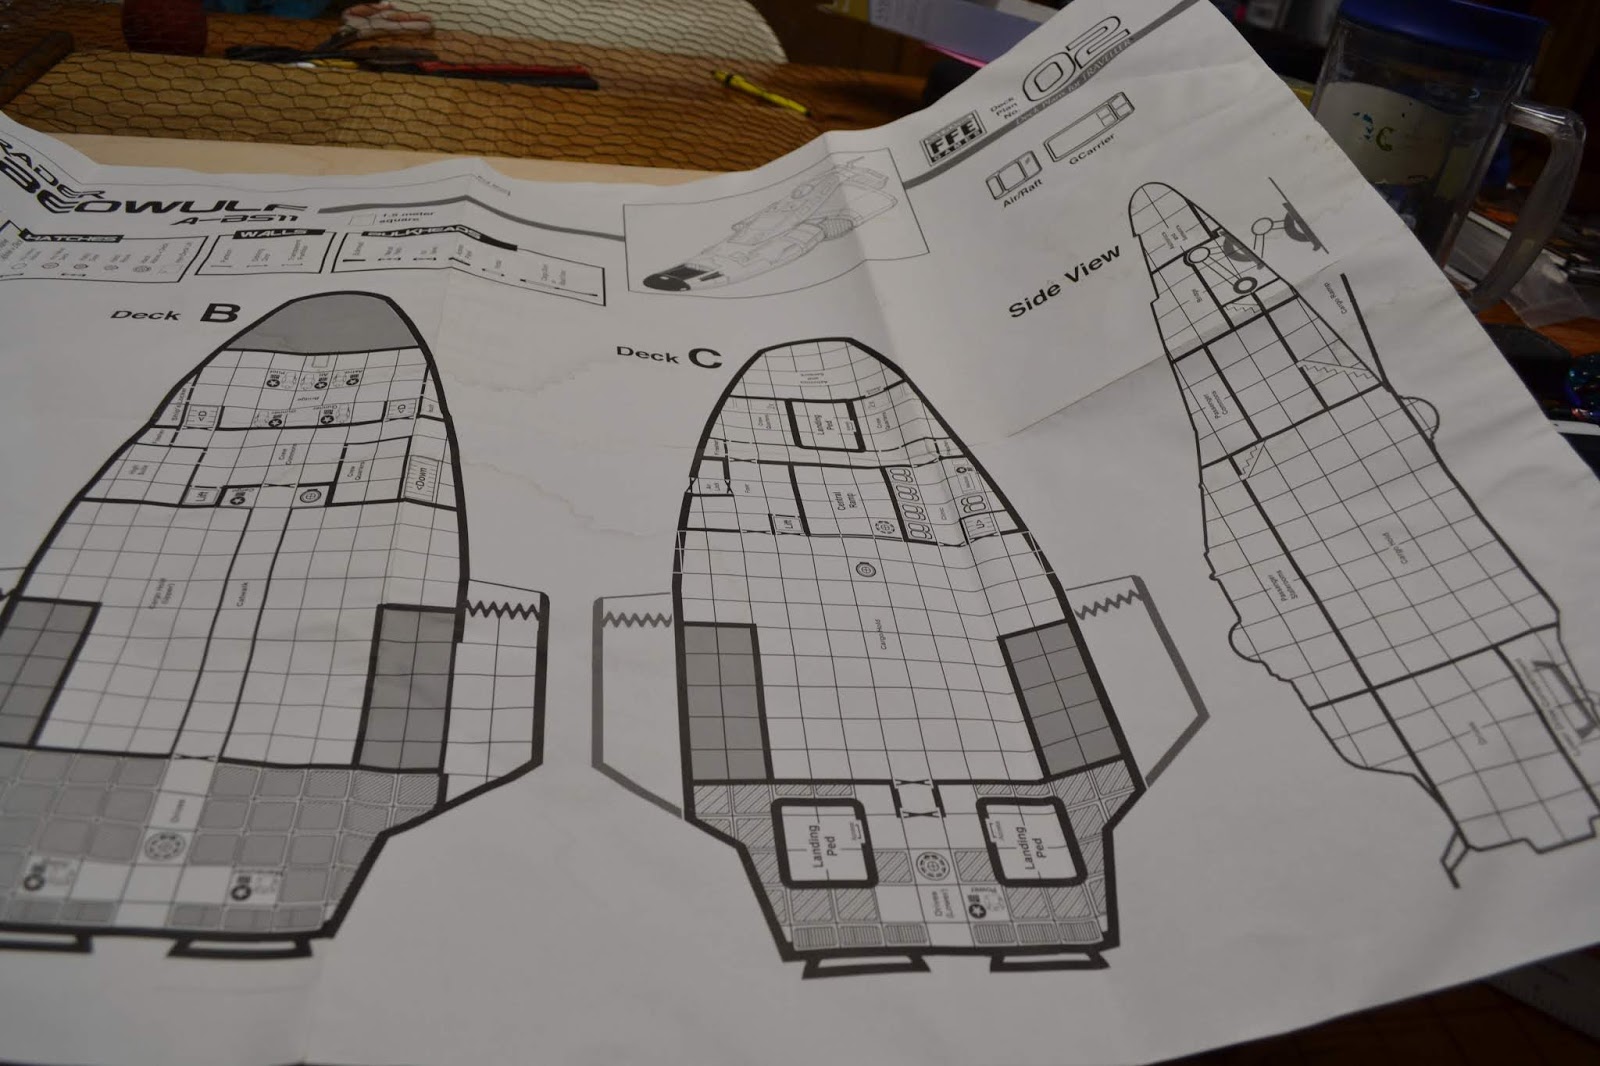 |
| FFE deck plans, my guide not blueprint. |
 |
| A view of the plans that helped me get some of the dimensions so I could begin. |
The first thing I would need would be a strong durable and lightweight material for the keel or base of the model. I went with 1/8" plywood.
 |
| Plywood, what little starships are made of, well sort of. |
 |
| Yes that is a real table saw with a 4" blade. Scary little thing. It excels at cutting plywood. |
 |
| I cut a piece of plywood that is about 4 1/2 x 5 1/2 inches to be the keel. This is the platform that the ship will be built around. |
 |
| Ah ha done! No just kidding. This is a Free Trader from RAFM. I am using it also for inspiration in the design. |
 |
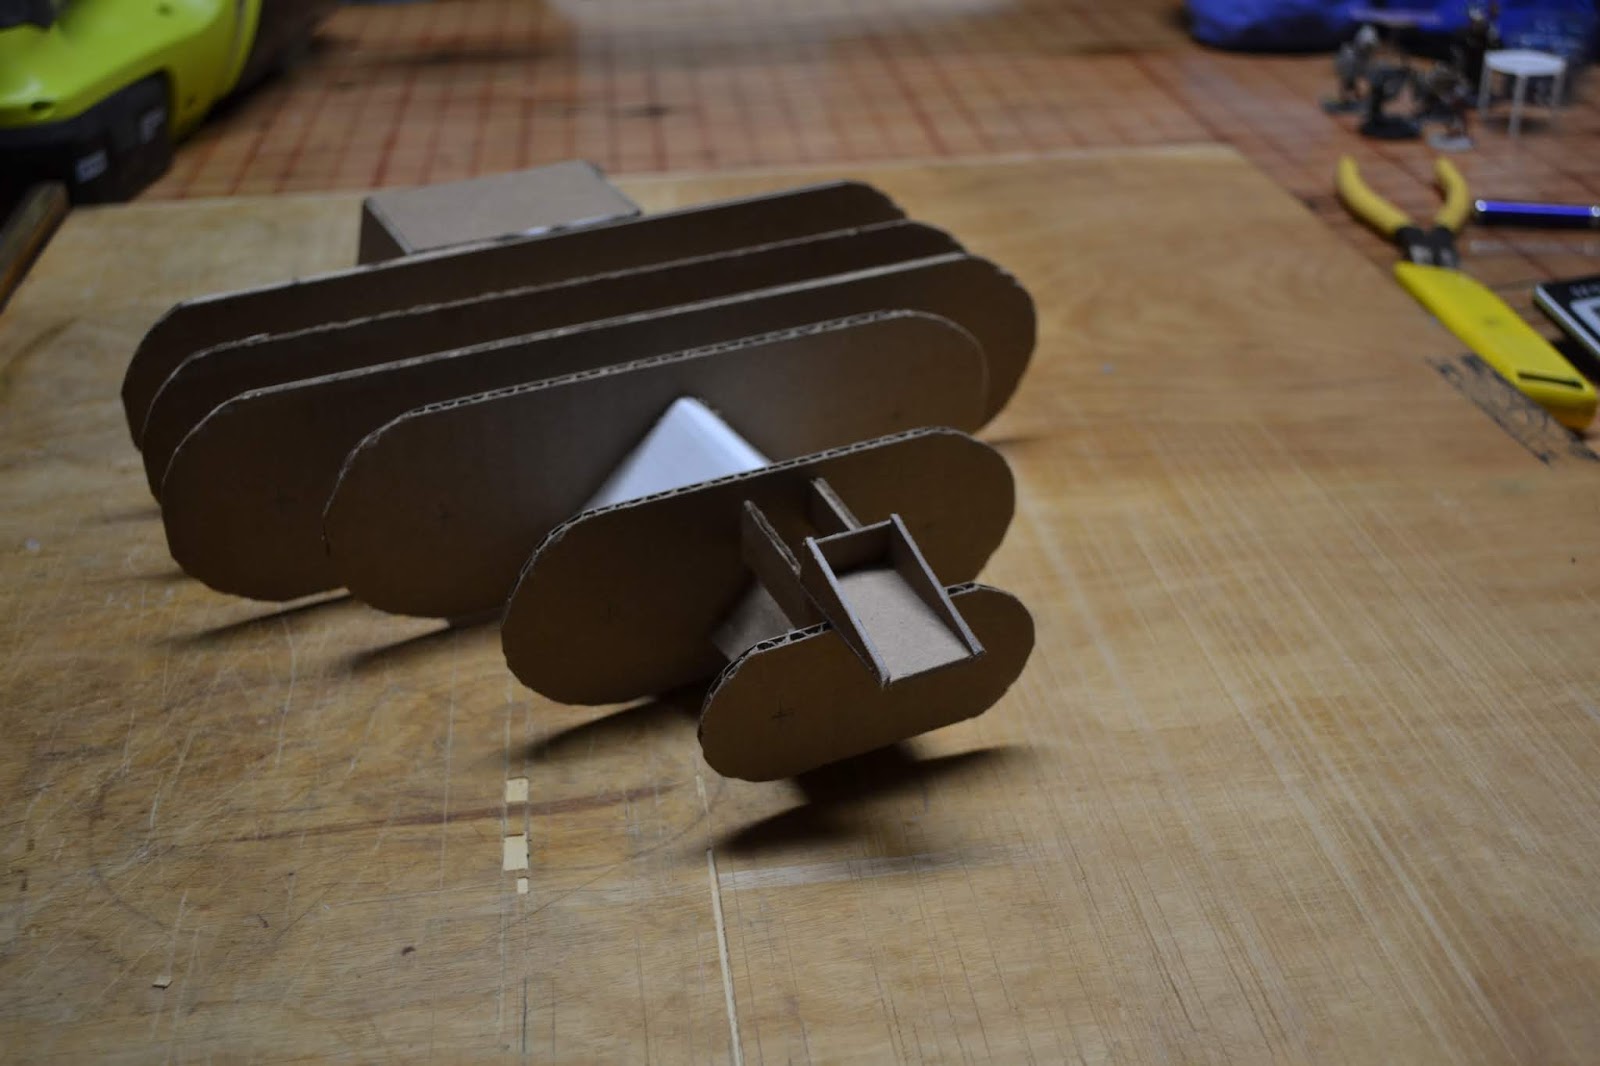
| The first part of the ship interior support structure. I made them a bit bigger than the plans to make it look more like the RAFM model. I also figure it ads room for fuel storage which the deck plans seemed to lack. |
 |
| As you can see the ship is starting to take shape. I am still trying to figure out how to make the nose for the ship. |
 |
| A side view showing the engineering section and some L bracket cardboard to support the forward part of the model since from the front of the cargo to the nose the ship tapers up. |
 |
| I placed the model on top of the deck plans to show I am trying to keep it within scale. |
 |
| Yes I used a calculator to figure out some of the more technical questions about dimensions and such like what if half of that measurement. |
 |
| Just a view of the ships aft. |
 |
| I want to have the window viewport in the hull. I may have to trip it down to fit in with the shape of the hull. |
Well this where I am at with this build. My next step will be to get the exterior hull over the frame. Once that is done I will add the top section where the passenger staterooms are. I do have pieces for landing gear and the thrusters. I will have to wait for spring before I paint it. Once it is finished it will be quite light since most of it is cardboard. I would love to add led running lights to it powered by small solar cells. I hope to have more on this within a bout 2 weeks.
Looks good so far, can't wait to see it done!
ReplyDeleteThanks. I am working on the nose. It's not easy getting cardboard to curve without developing a crease. The best material I have found so far to bend is cereal box cardboard. The nose will not be a perfect dome. I will try my best to get something close.
ReplyDelete